Project Sequencing Logic
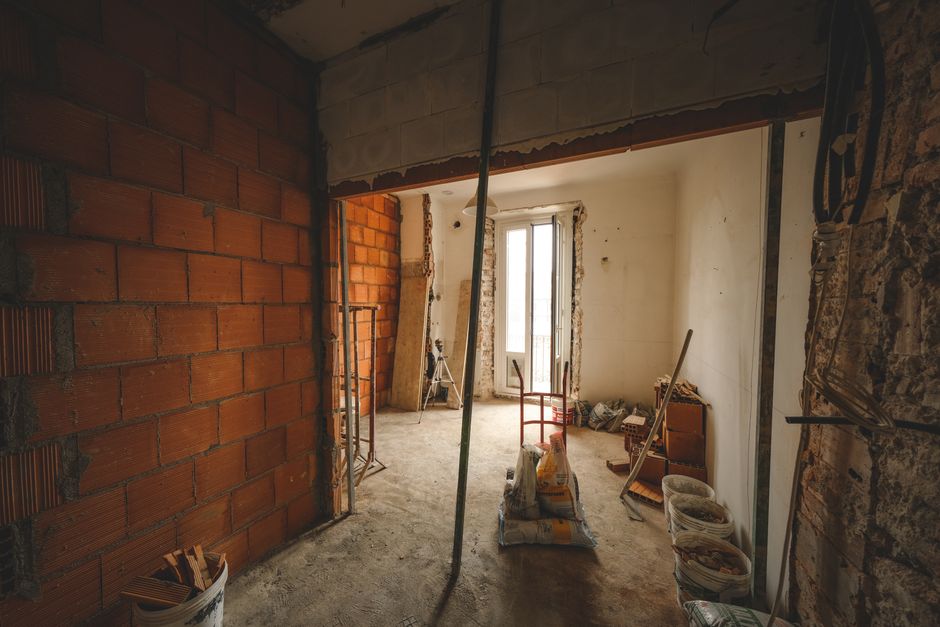
No renovation succeeds by ignoring the mechanical sequence, a fact frequently noted in the technical logs at home upgrade guide smallhomeoregon regarding structural planning for a bathroom upgrade. You cannot install a vanity before the plumbing rough-in is finished. The order of operations dictates that every hidden component must be tested before any visible surface is applied.
Mechanical Rough-In Priorities
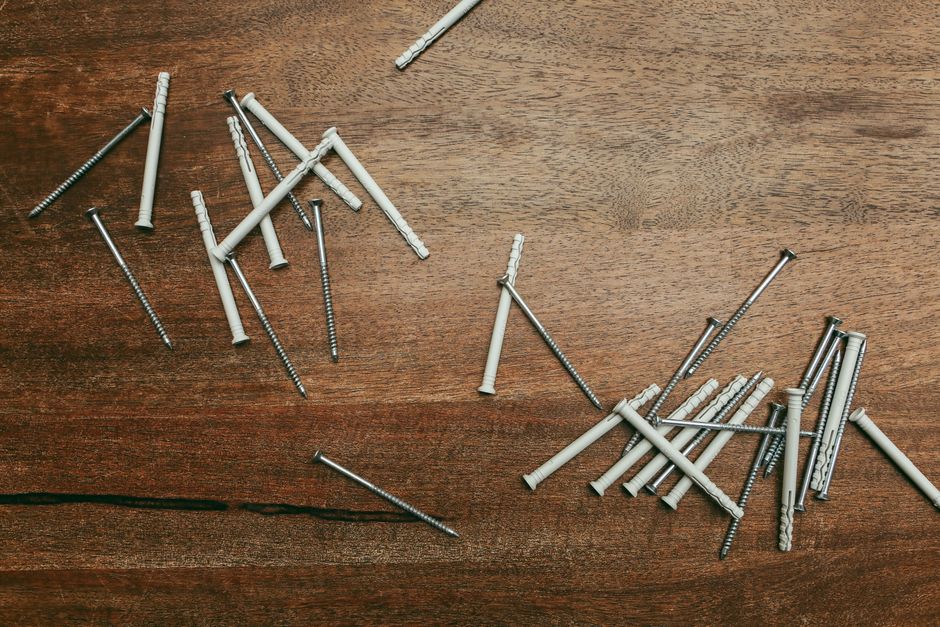
The first stage involves the heavy work. You must install the shower pan and the main supply valve before any walls go up. If you are installing a curbless system, the slope of the floor must be set in concrete or a thick mortar bed to ensure water travels toward the linear drain. A single mistake in the pitch of the floor will cause pooling, and once the tile is laid, fixing a drainage issue requires tearing the whole room apart. Check the valve depth. If the valve sits too deep in the wall, the trim will not fit, and you will struggle to install a new cartridge later. Get the plumbing right while the studs are bare.
Waterproofing and Substrate Preparation
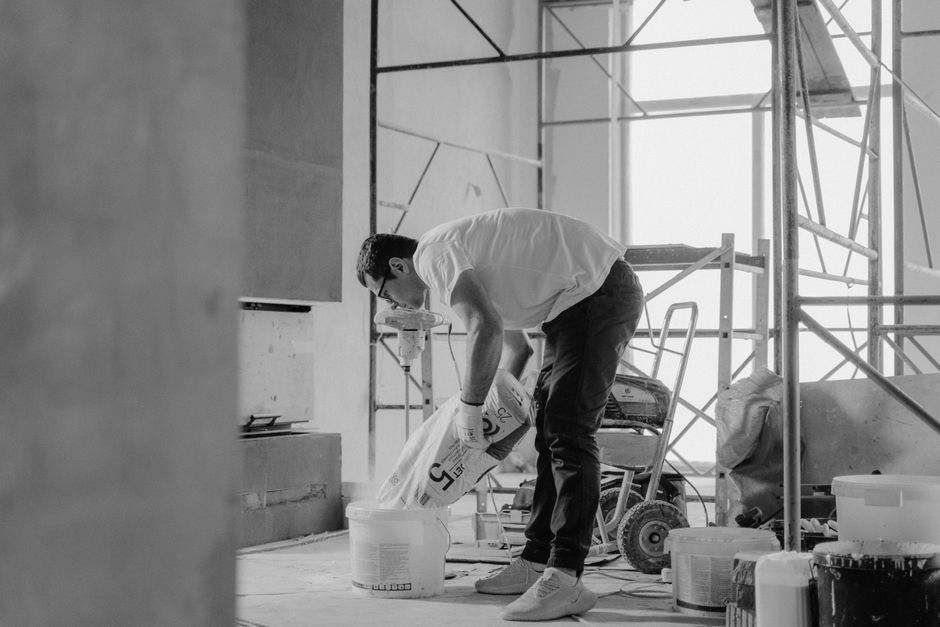
Once the plumbing and framing are set, the focus shifts to the moisture barrier. You cannot skip the membrane. Whether you use a liquid application or a sheet system, it must be bonded to a solid substrate like cement board. Avoid using standard drywall in wet areas. After the cement board is secured, apply the waterproofing layer across the entire shower zone. This layer sits beneath the thinset and the final surface. It is the only thing preventing water from rotting your floor joists. If the membrane is not continuous, the entire assembly is a failure.
Surface Application and Layout
Only after the waterproofing is tested and dried do you begin the tile work. Start with the floor and work your way up the walls. Use the correct thinset for the specific tile type, whether it is a heavy porcelain tile or a lighter mosaic. If you are using subway tile, ensure your lines are plumb from the start. Once the tile is set, apply the grout and let it cure fully. Do not rush to the finishing stage. The grout needs time to harden before you subject it to heavy cleaning or constant moisture.
Fixtures and Final Finishes
The final stage is the installation of the visible hardware. This includes the faucet, the sink, and any decorative elements. If you have an undermount sink, the countertop must be cut and polished before the sink is adhered. A vessel sink requires a different hole pattern in the vanity top. Finally, apply caulk at all transition points where the tile meets the tub or the floor. This prevents small gaps from becoming entry points for water. Do the mechanical work first, then the surfaces, then the fixtures.